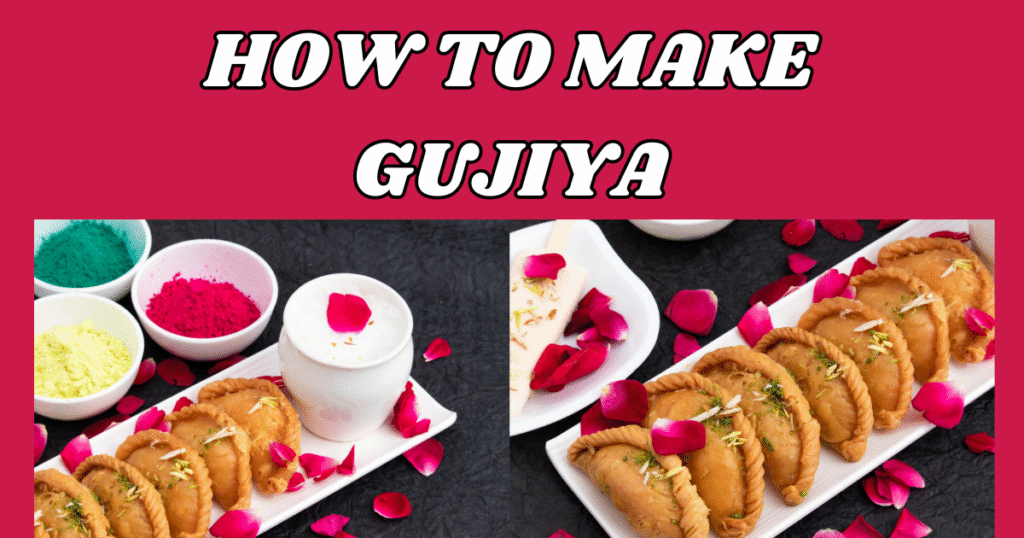
Gujiya |Home Made Recipe With Simple Steps 2025|
WELCOME TO MY BLOG SHIV RECIPE
INTRODUCTION
To start, we’ll knead a dough for the Gujiya.
In a bowl:
- Take 2 cups refined flour (maida) this is also important for the gujiya
- Add 1 pinch salt as you need you can add to the gujiya
- Add 4 tbsp melted ghee as is also important for the gujiya
Now mix the flour and ghee together very well.
After mixing, rub the mixture between your palms so the fat incorporates into the dough.
This step is essential — it makes the Gujiya super crispy and flaky.
Once done, grab a portion and press it in your fist — if it holds shape, the shortcrust is perfect.
Now, gradually add ½ cup water to bring the dough together.
If needed, add 1–2 tbsp more water — the dough should be tight.
Once formed, cover with a moist tea cloth and rest for 10–15 minutes.
After resting, the dough will be softer.
Knead it using your knuckles on a platform for about 5–6 minutes.
Once kneaded, shape the dough into a ball, cover again with a moist cloth, and rest it for 30–60 minutes.
Preparing the Filling
While the dough rests, let’s prepare the filling.
First, we’ll roast mawa (milk solids):
- In a pan, take 200 grams mawa
- Keep stirring and roast until it turns light golden brown and starts leaving the sides
- This takes around 4–5 minutes
Once done, transfer to a bowl.
In the same pan:
- Add 2 tsp ghee
- Add 2 tsp semolina (sooji)
- Roast on low flame till light golden brown
- Transfer to another bowl
Next, roast the nuts:
- In the same pan, add 1 tbsp ghee
- Add:
- 3 tbsp almonds
- 3 tbsp cashews
- 3 tbsp pistachios
- 2 tbsp chironji (charoli)
Roast on low flame for 3–4 minutes until light golden brown.
Then, transfer to another bowl.
Let all ingredients cool before mixing.
Mixing the Filling
Once the roasted mawa cools, crumble it with your hands — it should be fine and lump-free.
In a large bowl:
- Add crumbled mawa
- Add roasted nuts
- Add roasted semolina
- Add 25 grams grated dried coconut
- Add 60 grams powdered jaggery (or use sugar)
- Add 1 tsp cardamom powder
Now mix everything well with your hands, gently pressing to help all ingredients combine.
Tip: Make sure all ingredients are completely cooled before mixing, or else the jaggery/sugar will release moisture and ruin the texture. The filling must be dry.
Shaping the Gujiya – 3 Ways
[07:30]
Now, the filling is ready and the dough is rested. Time to shape the Gujiyas.
Method 1: Traditional Handmade Design (Slightly Difficult)
Take a small portion of dough and roll into a roundel.
Roll it out slightly thinner than a chapati.
Use a round cutter or lid to cut circles.
Place the round on your palm and:
- Add 1–2 tsp of filling in the center
- Apply water to the edges
- Fold in half and seal the edges by pinching
To give the traditional design:
- Start from one corner, fold and pinch repeatedly till the end
- This creates the classic Gujiya pattern
.png "How To Make Gujiya")
Method 2: Easy Fork Design (No Mould)
After sealing the Gujiya, use a fork to press the edges
This creates a clean, pretty pattern — easy for beginners.
Method 3: Using a Mould
You can find Gujiya moulds in the market.
- Place the dough circle on the mould
- Add filling in the center (not too little, or it’ll have air pockets)
- Apply water on edges
- Fold & press mould
- Trim off excess dough
- YOU WANT TO GET PROPER INFORMATION ABOUT GREEN CHICKEN VISIT THIS
- https://youtu.be/zgxCRY0bIHE?si=tNiHTxnICqv5le0o
https://youtu.be/kCMNxYEq7rU?si=Dc8Z2DkY969NUFDj
https://youtu.be/bSspT2IbqhM?si=yOslifWEQNVJCj7Ghttps://youtu.be/bSspT2IbqhM? - https://shivrecipe.com/badam-shake-home-made-recipe-with-simple-steps-2025/