Khandvi Recipe |Home Made Recipe With Simple Steps 2025|
WELCOME TO MY BLOG SHIV RECIPE

INTRODUCTION
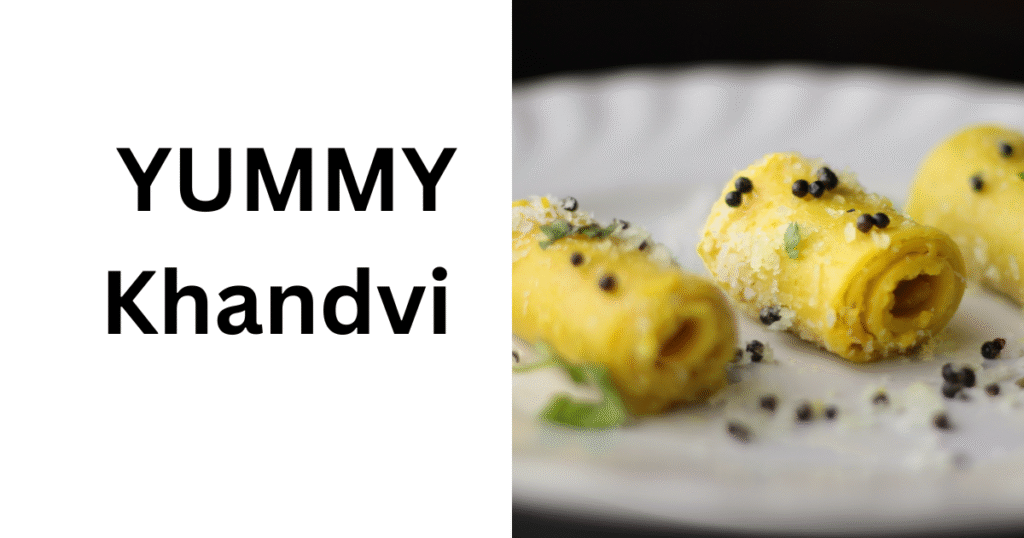
Khandvi – the soft, smooth, and tightly rolled yellow-coloured Gujarati snack – is something that wins hearts all across India. Whether you’re at a wedding, enjoying a Gujarati thali, or visiting a friend’s house – Khandvi is a timeless dish. But despite its popularity, many home cooks hesitate to make it. The reason? People think it’s very complicated to cook. But today, we are going to bust that myth.
On June 21st, 2025, we’re bringing you a full-proof, super easy, step-by-step recipe to make perfect Khandvi at home. All tips are included. If you follow these carefully, you’ll make melt-in-mouth Khandvi like never before.
Let’s begin!
Khandvi is not difficult at all!
Most people think Khandvi is tough because the batter needs attention and the rolling looks tricky. But if you follow some key steps and maintain low flame, continuous stirring, and prepare your setup in advance — you’ll be surprised how simple it is.
I personally love Khandvi. Once you eat homemade, you’ll stop buying it from outside. Let’s now begin the actual recipe.
Making the Khandvi Batter
In a bowl, take the following ingredients:
- 1 cup sour curd (yogurt)
- 1 cup gram flour (besan), finely ground
- Paste of 2-inch piece of ginger + 2 green chillies
- Salt to taste
- ½ tsp sugar
- ½ tsp turmeric powder
Now whisk this mixture very nicely. You can use a whisk or even a fork. The aim is to remove all lumps and make the batter very smooth. It should not have any gram flour clumps.
Add Water to the Batter
Once your thick paste is smooth, add 2 cups of water to it. Mix again properly until everything becomes a flowing consistency. The batter should look like thin, smooth buttermilk. This is your Khandvi base.
Cook the Batter on Low Flame
Take a non-stick pan and strain the batter through a sieve directly into the pan. This step ensures that no small lumps remain.
Now turn on the flame – keep it low. That is very important. Begin cooking and keep stirring continuously using a spatula or whisk.
Why low flame? If you increase the heat, the gram flour will not cook properly. It will form lumps and start sticking to the bottom of the pan. The outer part may look cooked but inside, it will be raw.
So the two golden rules here:
- Low flame only
- Don’t stop stirring
Stir For 20–25 Minutes Patiently
This is the only time-consuming part. Keep stirring for 20–25 minutes. Slowly the batter will start thickening. Don’t rush. This slow cooking helps the gram flour to cook fully.
Once the batter reaches dropping consistency — meaning it flows but is thick — you’re done.
You can also test it. Take a little cooked batter and spread it on a plate. Wait for 2-3 minutes and try to roll it. If it rolls easily, the batter is cooked.
Time to Spread the Batter
Once the batter is ready, you need to act fast. You have to spread the batter quickly, within 3–4 minutes.
If you wait too long, the batter will set in the pan and become useless. So prepare your spreading surface before you start cooking.
I used an upturned baking tray, but you can also use:
- Steel plates (thalis)
- Large flat platters
- Even your marble kitchen platform
Just make sure it is clean and dry.
Take a portion of batter and spread it quickly into a thin, even layer. Use a dough scraper, spatula, or the back of a spoon. Don’t make it too thick or too thin. Medium-thin layer is best.
Rest for 10–12 Minutes
Once the layers are spread out evenly, let them rest for 10–12 minutes. The batter will cool down and set properly. Don’t try rolling before this. You’ll break the Khandvi.
If you’re making multiple trays, cover the remaining batter so it doesn’t cool too fast.
Prepare Plates Beforehand
One thing you must remember: prepare all your plates or trays before starting to cook the batter. You won’t have time later. If the batter cools before spreading, it will become useless.
Many people also spread batter on their kitchen platform. If your kitchen top is marble or granite, clean and dry it, and use it like a big tray. You can spread all the batter in one go. That’s how traditional Gujarati households do it too.
Don’t Let Batter Sit Idle
If the batter sits for more than 3–4 minutes, it starts to thicken and set. Then it won’t spread properly and will tear while rolling.
So again: as soon as your batter is ready, start layering it within 3 minutes.
Summary of Key Tips:
- Use sour curd for best taste.
- Always stir continuously while cooking.
- Cook on low flame only for 20–25 mins.
- Prepare trays/plates before starting.
- Spread batter immediately after cooking.
- Make medium-thin layers for perfect rolls.
- Let layers rest 10–15 minutes before rolling.
- If needed, test the batter by rolling a small part.
Time to Cut and Roll!
Once the Khandvi layers are set, take a sharp knife or pizza cutter. Cut the sheet into 2–2.5 inch wide strips.
Now gently start rolling each strip from one end. You’ll see beautiful yellow rolls forming. These should feel soft and not crack while rolling.
You can leave them plain or sprinkle some grated coconut, chopped coriander leaves, and even a bit of red chilli powder for extra flavour.
Optional Tempering (Tadka)
If you want to go one step further, prepare a quick tempering:
In a small tadka pan:
- Heat 2 tbsp oil
- Add 1 tsp mustard seeds
- Add a pinch of asafoetida (hing)
- Add 5–6 curry leaves
- Optional: 1 chopped green chilli
Once mustard seeds splutter, pour this tadka over the rolled Khandvi.
Garnish with:
- Fresh coriander leaves
- Grated fresh coconut
Serve immediately!
- GET GOOD INFORMATION BY VISITING THIS
- https://youtu.be/7iDHxXBmYII?si=HkXztc-qv6gq0h86
- https://youtu.be/ndTp8_1Kdyk?si=toL0LpeYw5Pn56rQ
- https://youtu.be/dtvRMihki6g?si=qnXCzCF_T4mrlykI
- https://shivrecipe.com/fruit-salad-recipe-home-made-recipe-with-simple-ste/